The in-situ Relative Humidity test for concrete measures the amount of moisture vapor present in a concrete slab.
The RH percentage value provides an indication of the moisture content within the concrete.
The ASTM F2170 standard is a procedure with set specifications on how to perform this test correctly.
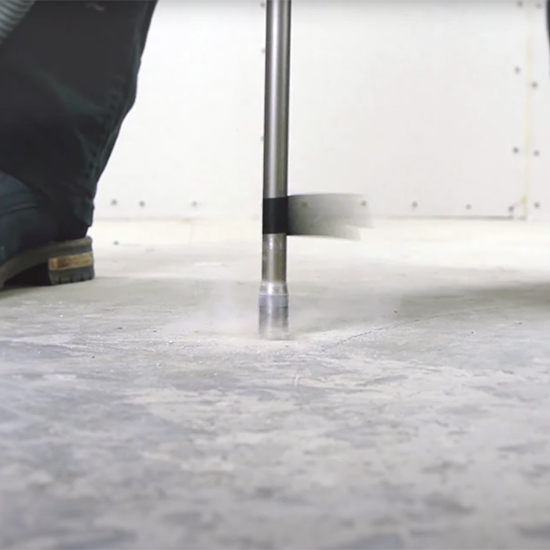
As per ASTM F2170, the in-situ Relative Humidity test requires a hole to be drilled into the concrete slab.
Before drilling, it is necessary to locate the best spot on the slab to perform the test.
This is typically determined by the results of the non-destructive impedance tests, which indicate moisture content values in different areas of the slab. To find out how to perform an impedance test, click here.
Generally, areas with the highest moisture content value are deemed suitable for conducting the in-situ RH test, also known as the concrete humidity test.
Determine the correct locations to carry out the in-situ RH test.
The ASTM F2170 standard requires performing 3 tests per 100m2 (1000ft2) and 1 per next 100m2.
Note: Always refer to national standard guidelines for definitive and current procedure and specifications.
The holes must be drilled dry and perpendicular (90 ̊), do not use water for cooling or lubrication as this can affect the test results.
The depth of the hole depends on the slab thickness and the drying method:
When drying is from the top only, drill the hole to approximately 40% of the slab thickness.
When drying is from both sides, drill the hole to approximately 20% of the slab thickness.
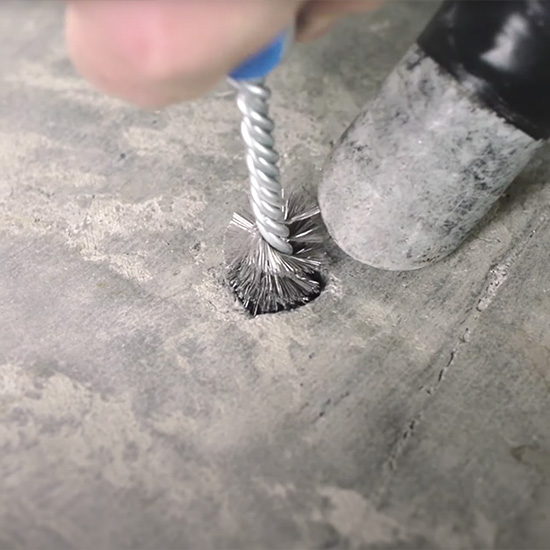
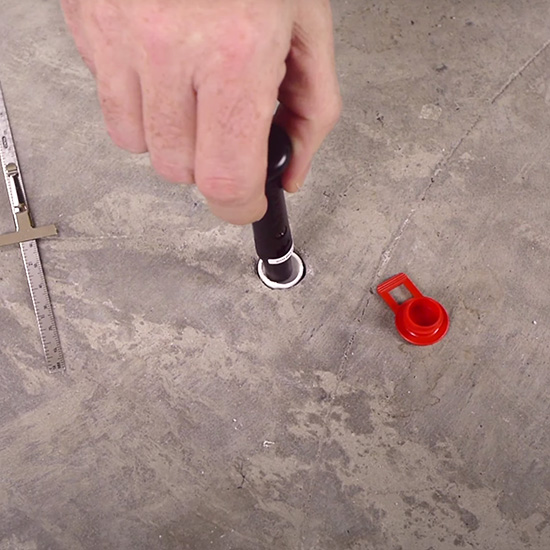
After drilling, clean the hole with a hole cleaning brush and a vacuum cleaner to ensure the hole is free from loose particles or dust.
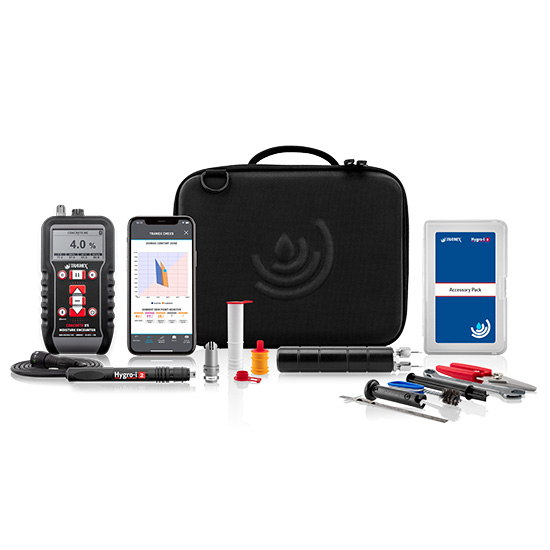
The Tramex Hygro-i2® Accessory box contains tools required to perform the ASTM F2170 in-situ RH test. The toolbox contains: Ruler, Hygro-i2® Insertion & Retrieval Tool, Metal Brush, Hole Liner Insertion Tool and Shears.
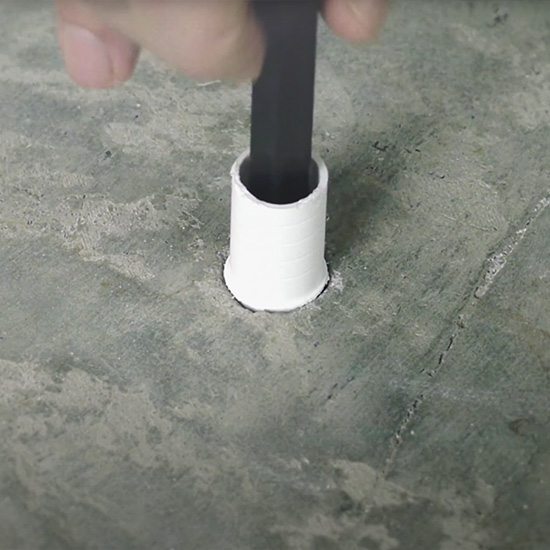
Place the hole liner into the clean holes and seal it with the cap provided.
Leave it for a period of 24 hours to ensure that the heat from drilling does not affect readings.
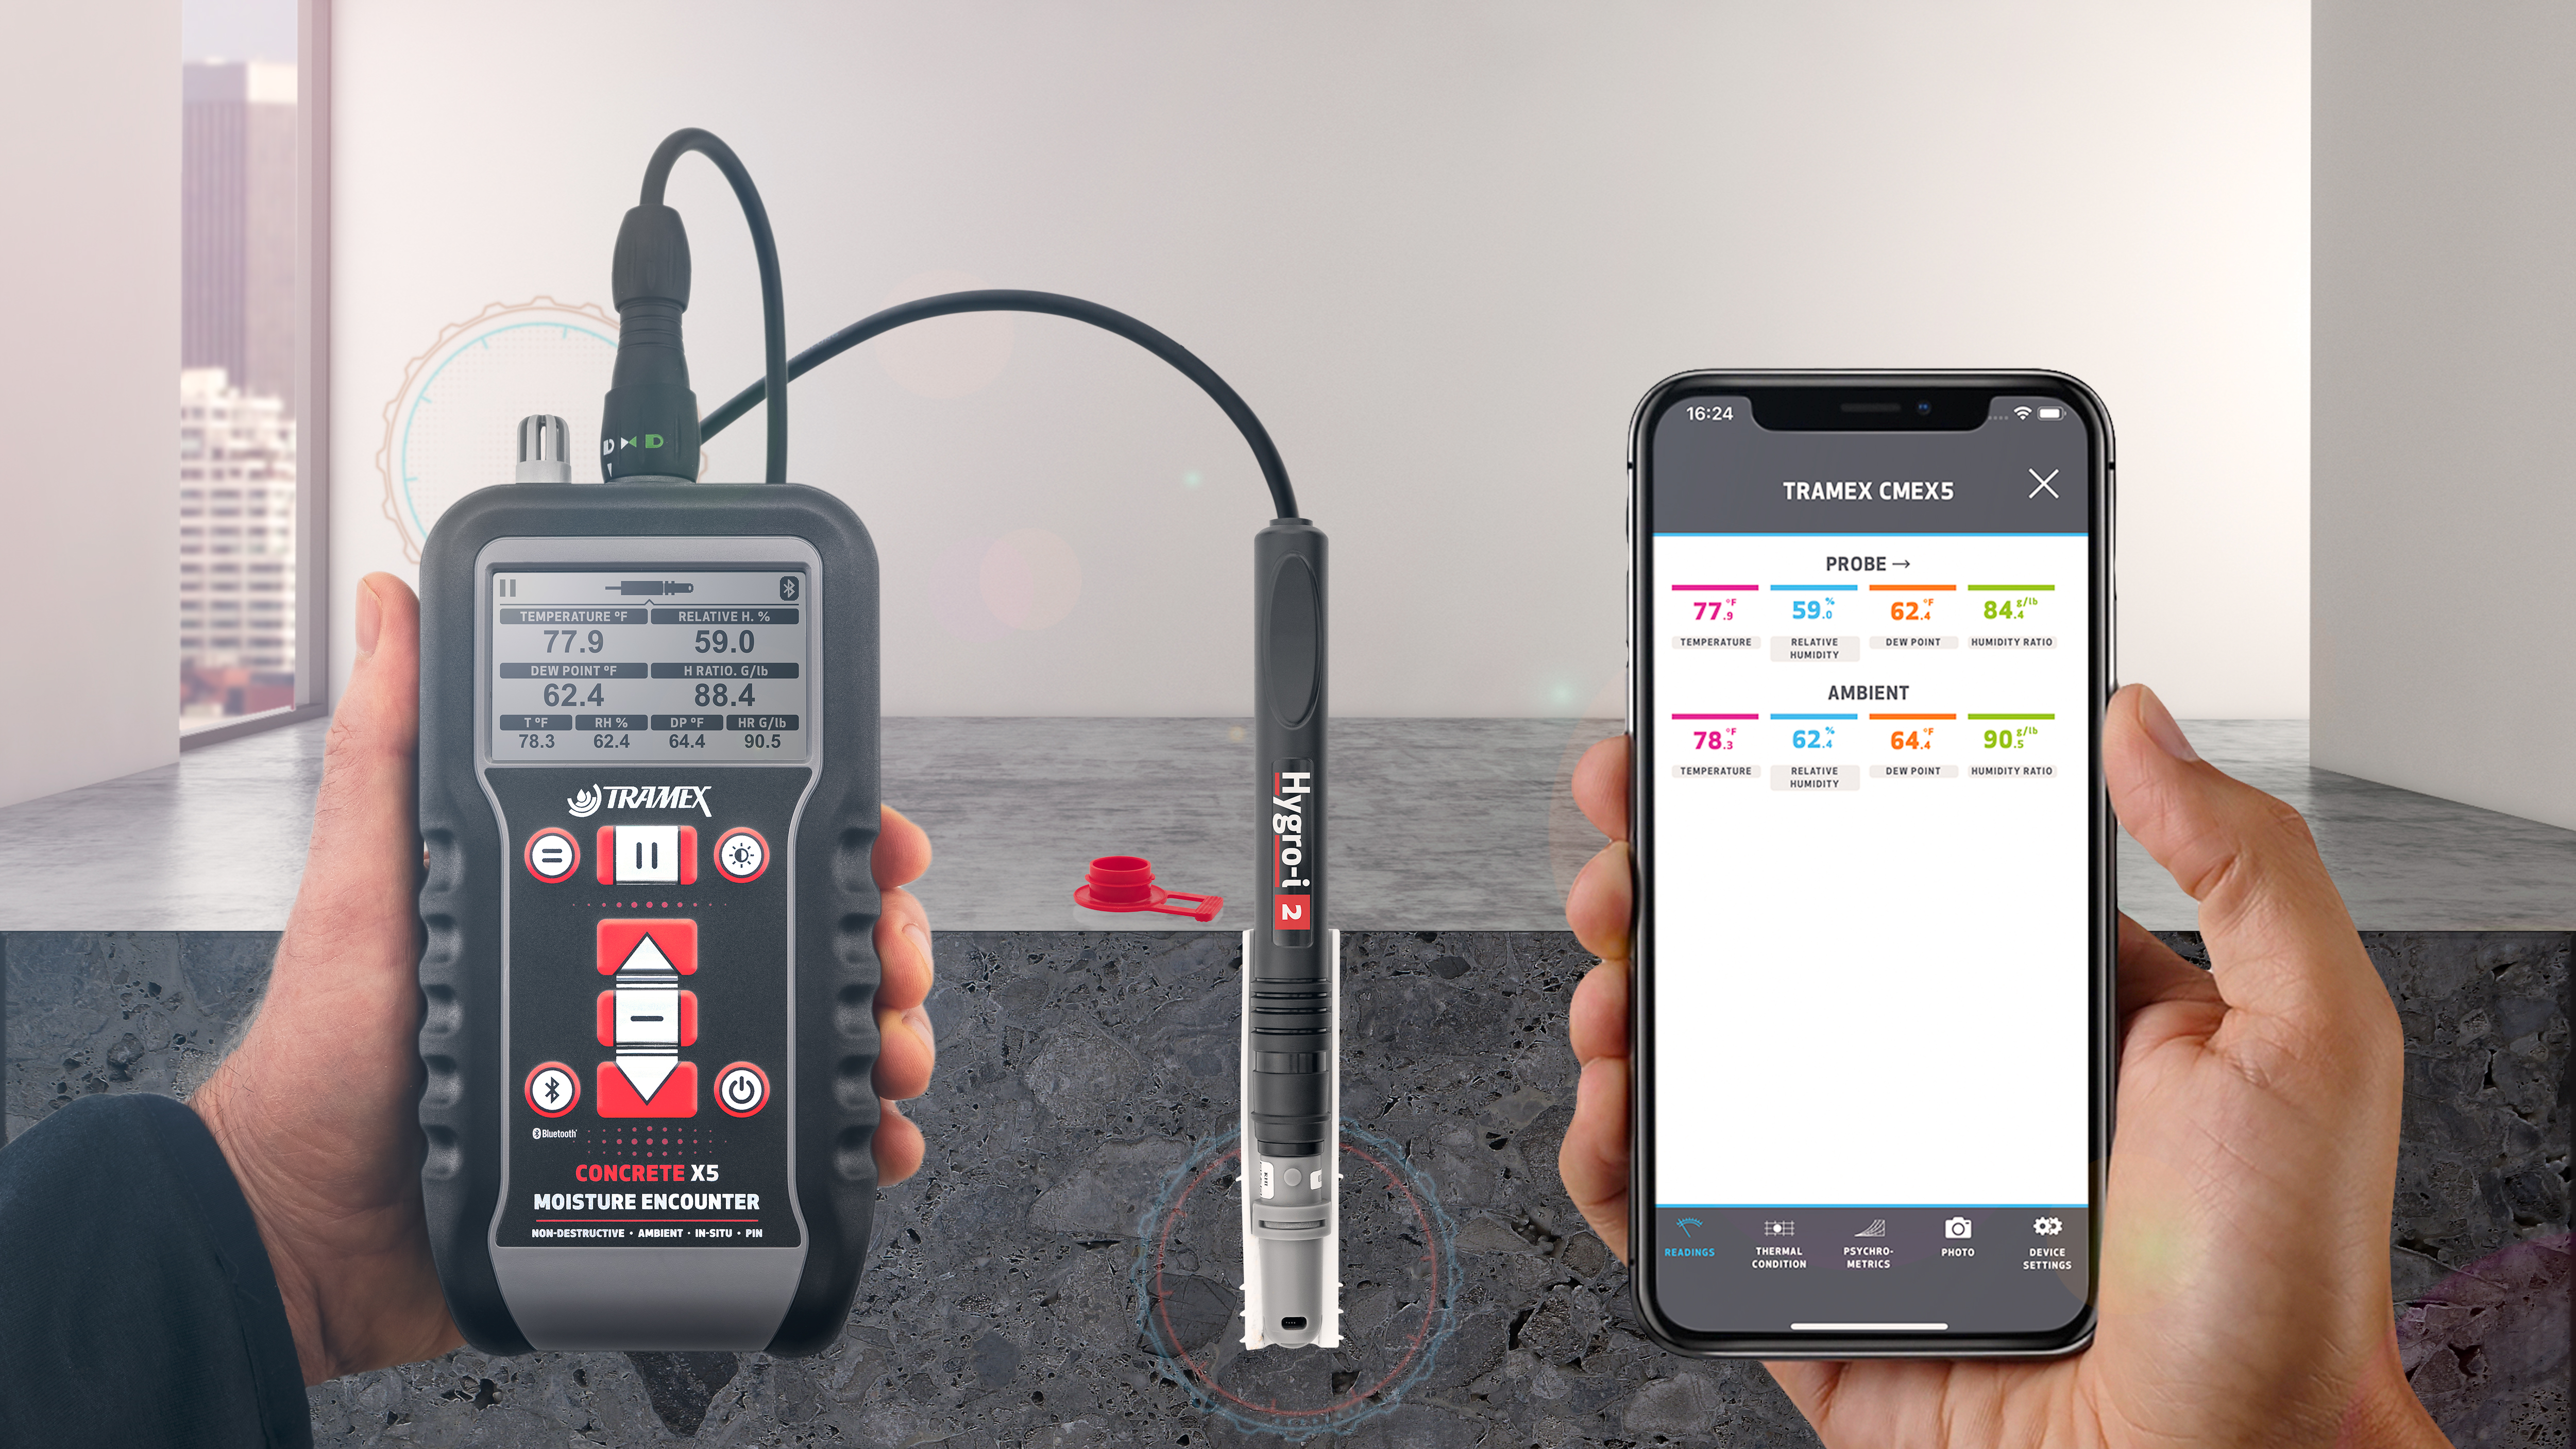
Remove the cap and insert the reusable Tramex Hygro-i2 relative humidity probe into the hole liner.
Seal again with the cap and allow 30 minutes for the Hygro-i2 probe to reach temperature equilibrium before measuring relative humidity.
It is essential that the concrete is at the same temperature as the probe. Even a slight difference in temperature will produce a significant error in relative humidity measurement.
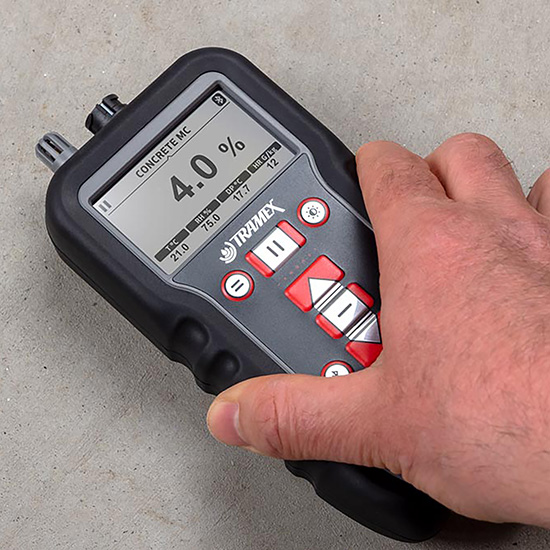
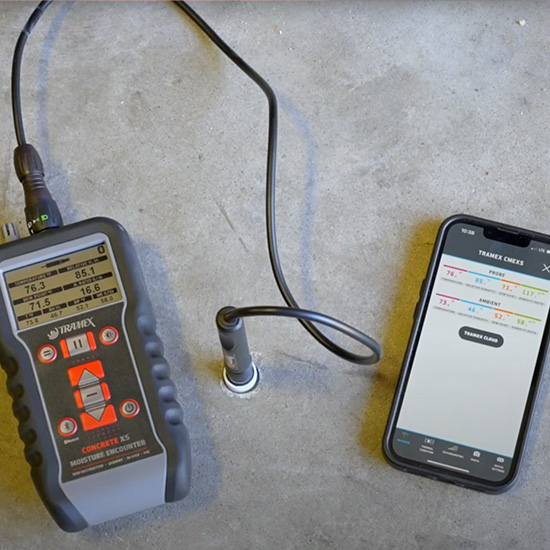
Remove the cap, connect the interface cable (RHIE2B) to the CMEX5 (or DL-RHTX) and insert the other end of the cable into the Hygro-i2 probe.
Check that readings do not drift by more than 1% RH over a 5 minute period.
With the Tramex system, it is possible to remove the probe and seal the sleeve for future testing, providing a more reliable and accurate test.
Please Note: Tramex recommend that the RH probes are not left in-situ for prolonged periods of time when RH values are above 93%. The sensor in the Hygro-i2 probe may take longer to recover if exposed to such readings and can be damaged by prolonged exposure to high humidity. Calibration salts are available to perform on-site calibration checks.
The Flooring Inspector EZ Kit is a compact kit for monitoring moisture conditions in a concrete floor or slab and performing the ASTM F2170 test.
Learn More